Design
The assignment asked for a soft-goods object produced only with a sewing machine and fabric scissors, and I decided early on that I wanted the object to replace something I already carry. I settled on a sleeve for my 11 inch iPad Pro, because a case I actually use every day gave me a clearer set of constraints than an abstract deliverable would.
Most of the design decisions came out of that framing. The geometry was set by the device itself. An 11 inch iPad is close to 9.74 by 7.02 inches, so I rounded up to a 10 by 13 inch cut pattern in order to leave roughly half an inch of seam allowance on every edge after the flip. I chose a centered straight stitch because it is the stitch my machine handles most reliably and because it produces the neatest visible result when the seam is tucked to the inside. The first prototype was left open at the top, both as a way to keep the initial build simple and as a way to make the test fit fast.
For the second prototype I wanted to take the form I had confirmed and make it feel like a real object rather than a mock-up. That meant a closure so the iPad does not fall out if the sleeve is held upside down, a fabric with some character to it, and an interior pocket so the sleeve could carry a charging cable and a pencil without letting them rattle against the screen. The closure became an 11 inch zipper I bought from Amazon, matched to the opening edge. The fabric became two old t-shirts from my roommate, one dark grey and one red, chosen because they were free and because the color contrast let me give the front and back of the sleeve different identities without adding any construction steps.
This is less about decoration than about the logic of soft goods, where most of the design work is actually choosing which edges get shown and which get hidden. Reusing the existing hems of the t-shirts let me take what are normally throwaway details and turn them into visible edge treatments, which made the sleeve read as more considered than its construction really was.
Sketches
Before cutting anything I worked out the geometry on paper, to make sure the seam allowance, the device dimensions, and the available fabric all agreed. The three diagrams below capture the plan I worked from, first for the muslin prototype and then for the t-shirt build.


These diagrams were the plan I actually followed. Drawing the seam allowance in as a dashed line made the difference between cut size and finished size concrete, which mattered more than I expected once I started stitching and had to trust that the half inch I had drawn would really give me the fit I wanted.
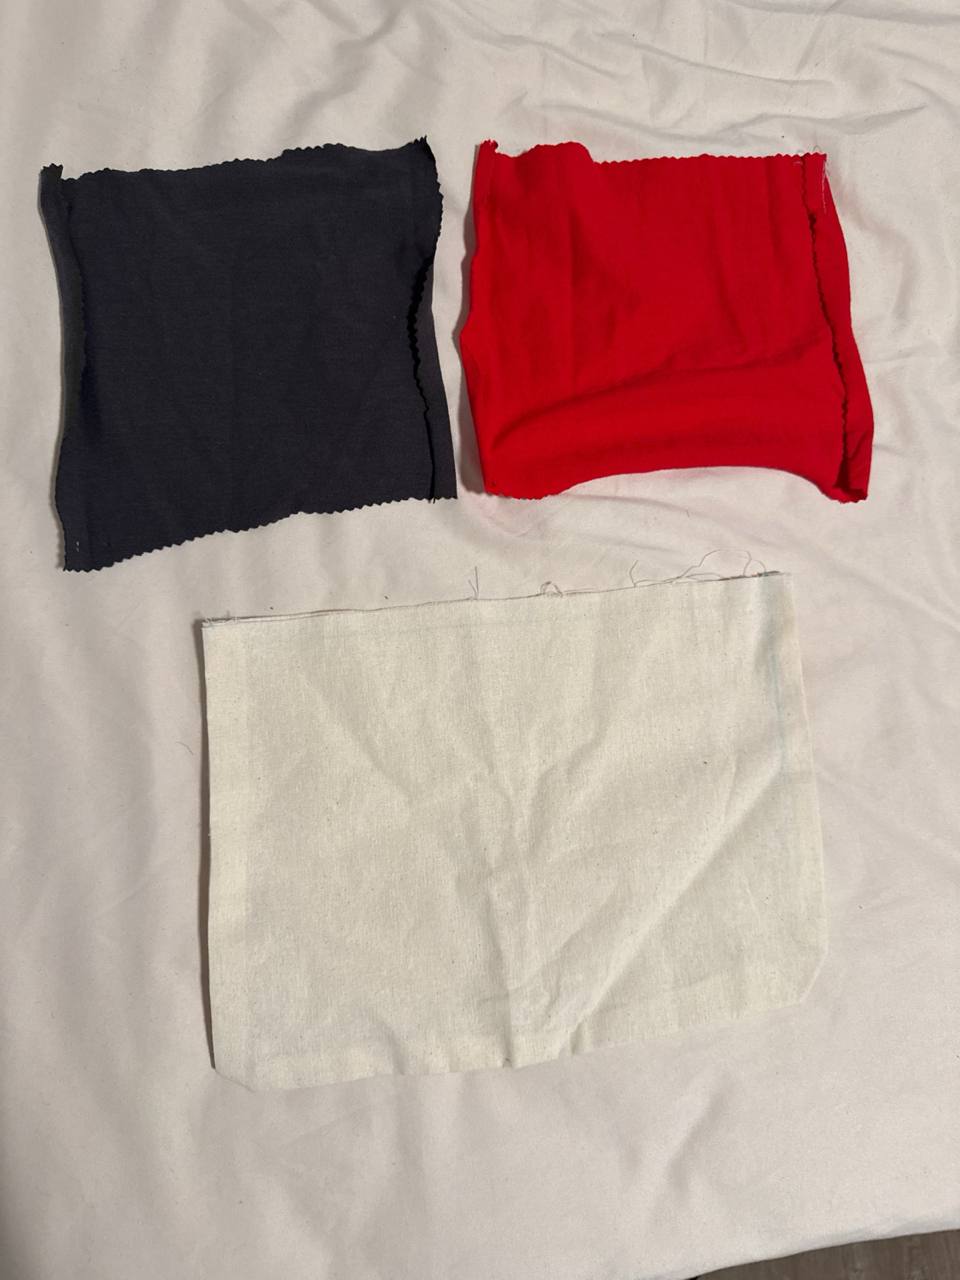
Prototype
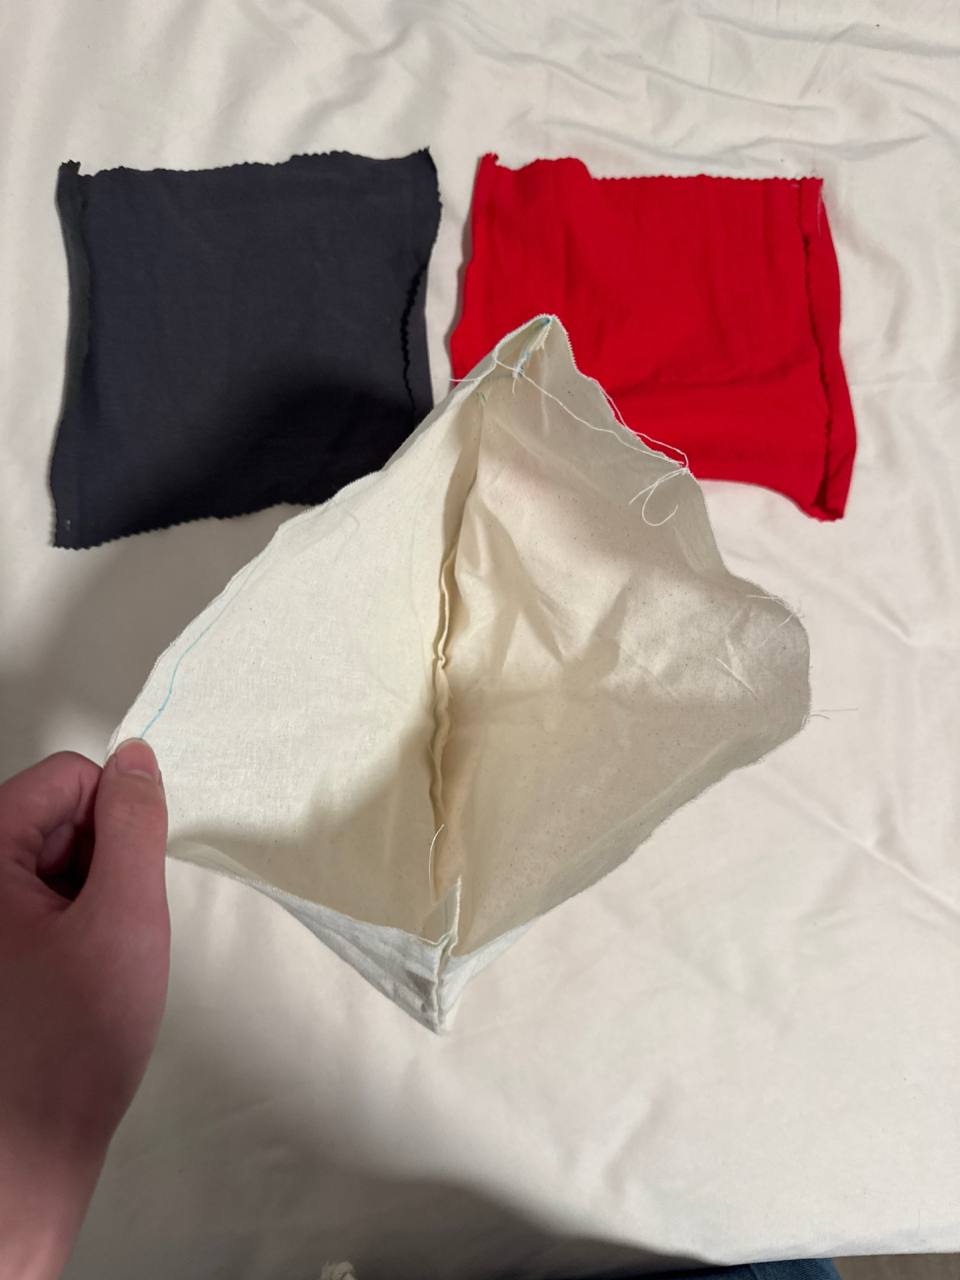
The first prototype was built from muslin, which is the cheapest woven fabric I could find and which behaves predictably under a sewing machine. I measured and cut two 10 by 13 inch rectangles, stacked them right-sides together, and ran a centered straight stitch down the two short edges and one long edge, leaving the opposite long edge open. After clipping the corners at an angle to reduce bulk I flipped the pouch right-side out so the seams sat on the interior. I slid my iPad in to test the fit, and the device sat cleanly inside with roughly half an inch of margin on each side, which is exactly what I had targeted on paper.
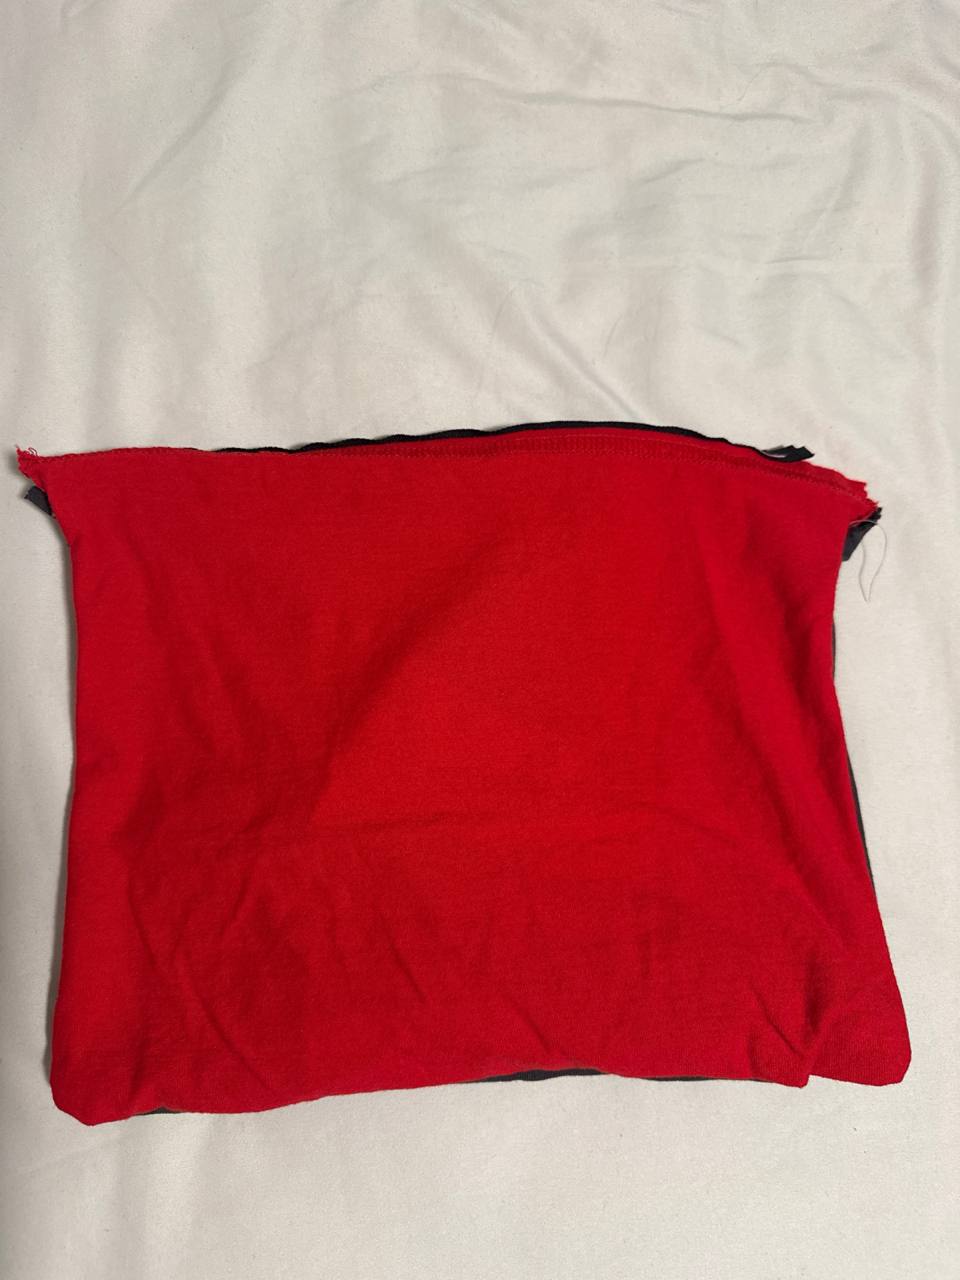
The second prototype was built from two old t-shirts my roommate was throwing out, one dark grey and one red. I cut the same 10 by 13 inch panels, one from each shirt, and cut two additional 7 by 8 inch panels for the interior pocket I was planning to add for a cable and a pencil. Before closing the sides I installed the 11 inch zipper along the opening edge of the main panels, which required flattening the stretchy knit against the zipper tape and feeding it carefully under the foot. Then I ran the side and bottom seams with the main panels inside-out, the same way as the first prototype.
The issue with the second prototype was the fabric. T-shirt knit is a cotton and polyester blend that stretches in two directions, and my sewing machine was old enough that the tension could not keep up. The thread broke repeatedly, both during the zipper installation and on the long side seams, which meant I had to restart stitches and overlap them, which in turn made the stitching look noticeably messier than the muslin version. I ran out of patience and out of thread before I got to the interior pocket, so the two 7 by 8 inch pieces were cut but never installed. The finished object is functional as an iPad sleeve with a zipper closure, but it carries the marks of the fabric fight more visibly than I would like.


Analysis
The first prototype worked well as a fit test and as a construction test. The geometry I had calculated on paper translated into a sleeve that held the iPad with the right amount of margin, and the centered straight stitch produced clean seams on the muslin because the fabric sat flat and did not stretch. What the first prototype lacked was any sense of the final object, because muslin is a test fabric, the construction was intentionally simple, and there was no closure. That is what I wanted to address in the second iteration.
The second prototype confirmed that the geometry still worked on knit fabric, and adding the zipper turned the sleeve into something I would actually carry. The two-color t-shirt choice, dark grey on one side and red on the other, gave the sleeve a front and a back and made the object feel less like a rectangular bag and more like a case with intent. The part I only fully understood after the fact was that I had positioned some of the shirt’s existing hems along the zipper edge, so the opening ended up with a finished trim without me stitching anything extra. What did not work was everything tied to the fabric choice itself. The knit’s stretch fought my machine, the stitching came out uneven in places, and the interior pocket I had planned never got installed.
In the in-class critique the feedback I received was positive and focused on the design of the second prototype, specifically the two-color t-shirt construction and the way I had used the shirts’ existing seams to make the sleeve look more complicated than it really was. No one raised a structural concern in class. I did not have the chance to show the sleeve to anyone outside the class before writing this up, so the external feedback I can point to is limited to the critique session itself, which I would treat as a partial rather than a complete signal.
If I were to go further, the next iteration would move away from the salvaged t-shirt material and toward a stable woven with a thin layer of padding, which would both respect what the machine can actually sew and give the iPad some impact protection that the current sleeve does not offer. I would install the interior pocket I had planned, and I would consider replacing the straight stitch along visible edges with a topstitch that accepts the stretch of a knit rather than fights it. What I would keep is the zipper closure and the two-color exterior, because those were the decisions that made the object feel like a designed thing rather than a sewn rectangle, and they are the parts I want to carry into whatever I make next.
AI used to convert hand-drawn sketches into SVG diagrams.